
Follow these simple steps to connect your Shopify store to Xero
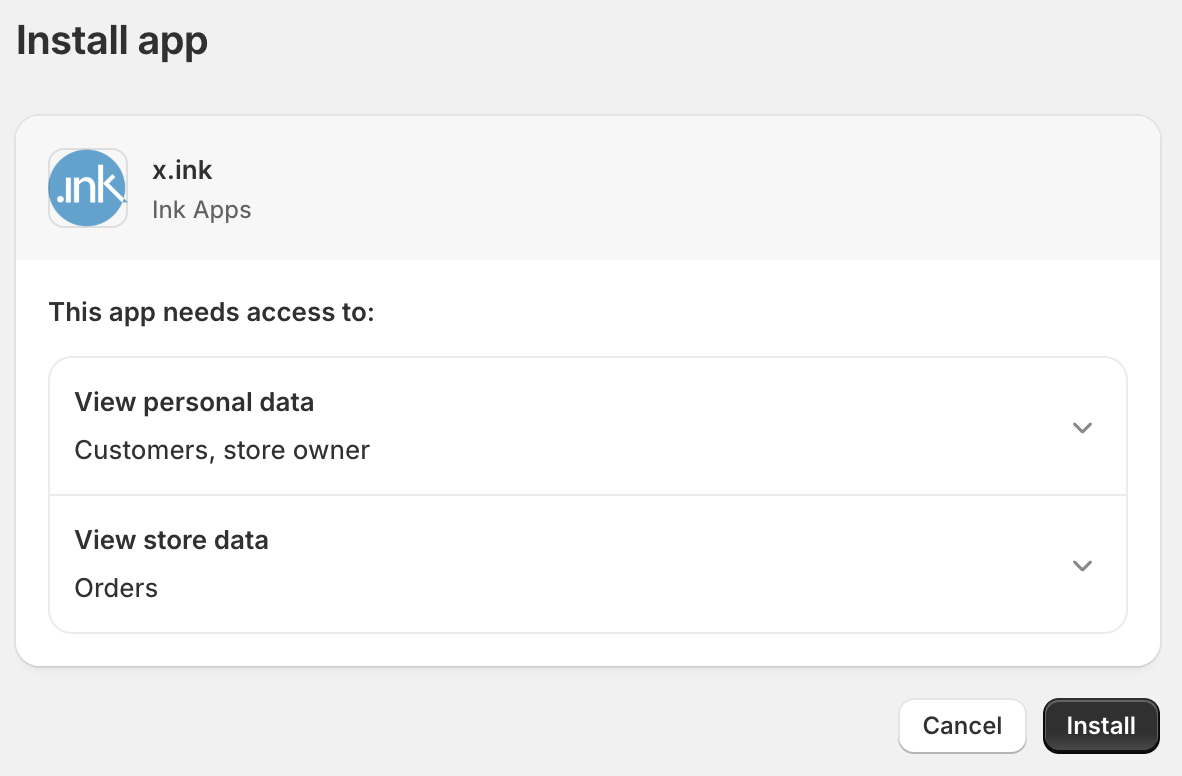
Find x.ink in the Shopify App Store and click install. The app will request permissions to access your store data to facilitate the Xero integration.
Once installed, you'll be taken to the x.ink dashboard where you can begin setting up your Xero connection.
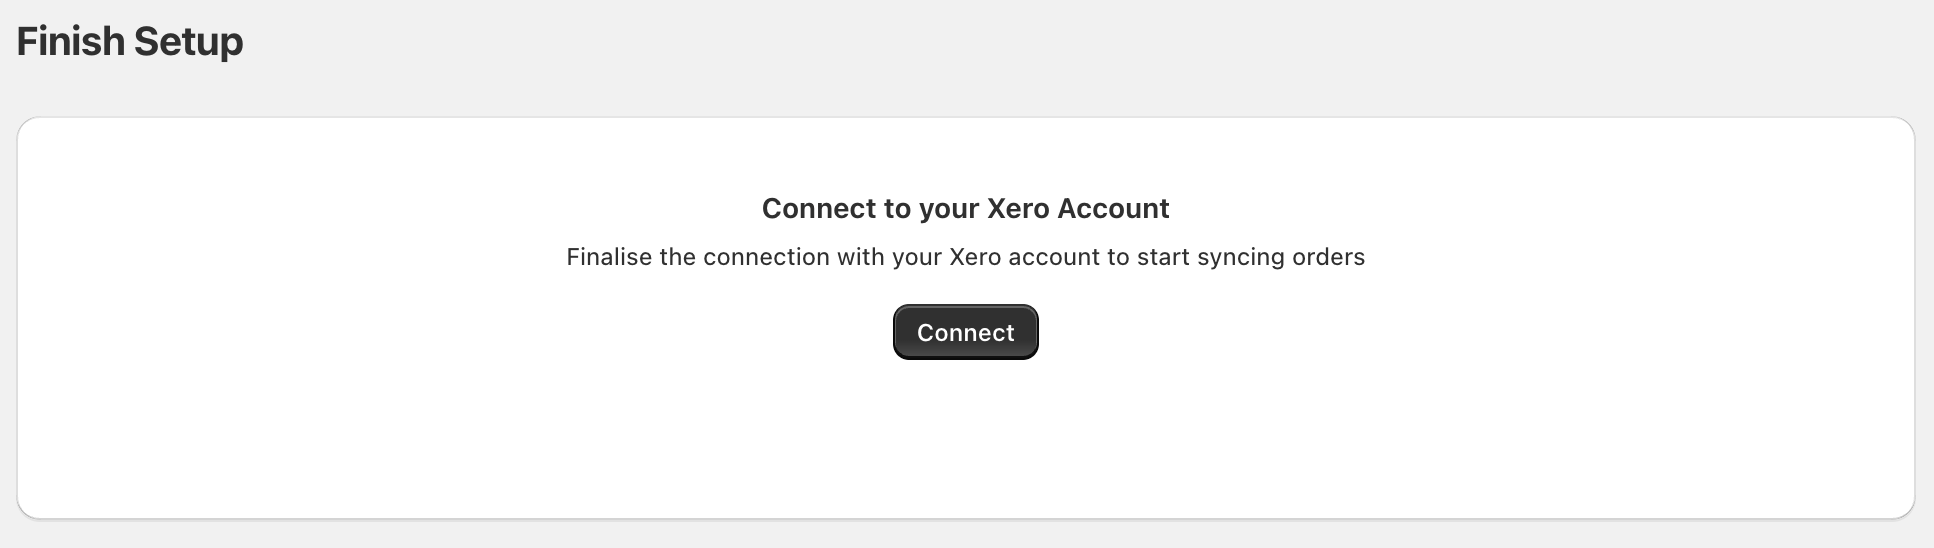
Click on the "Connect" button on the page. You'll be redirected to Xero's authentication page where you'll need to log in and authorize x.ink to access your Xero account.
After authorization, you'll be returned to the x.ink dashboard with your Xero account successfully connected.
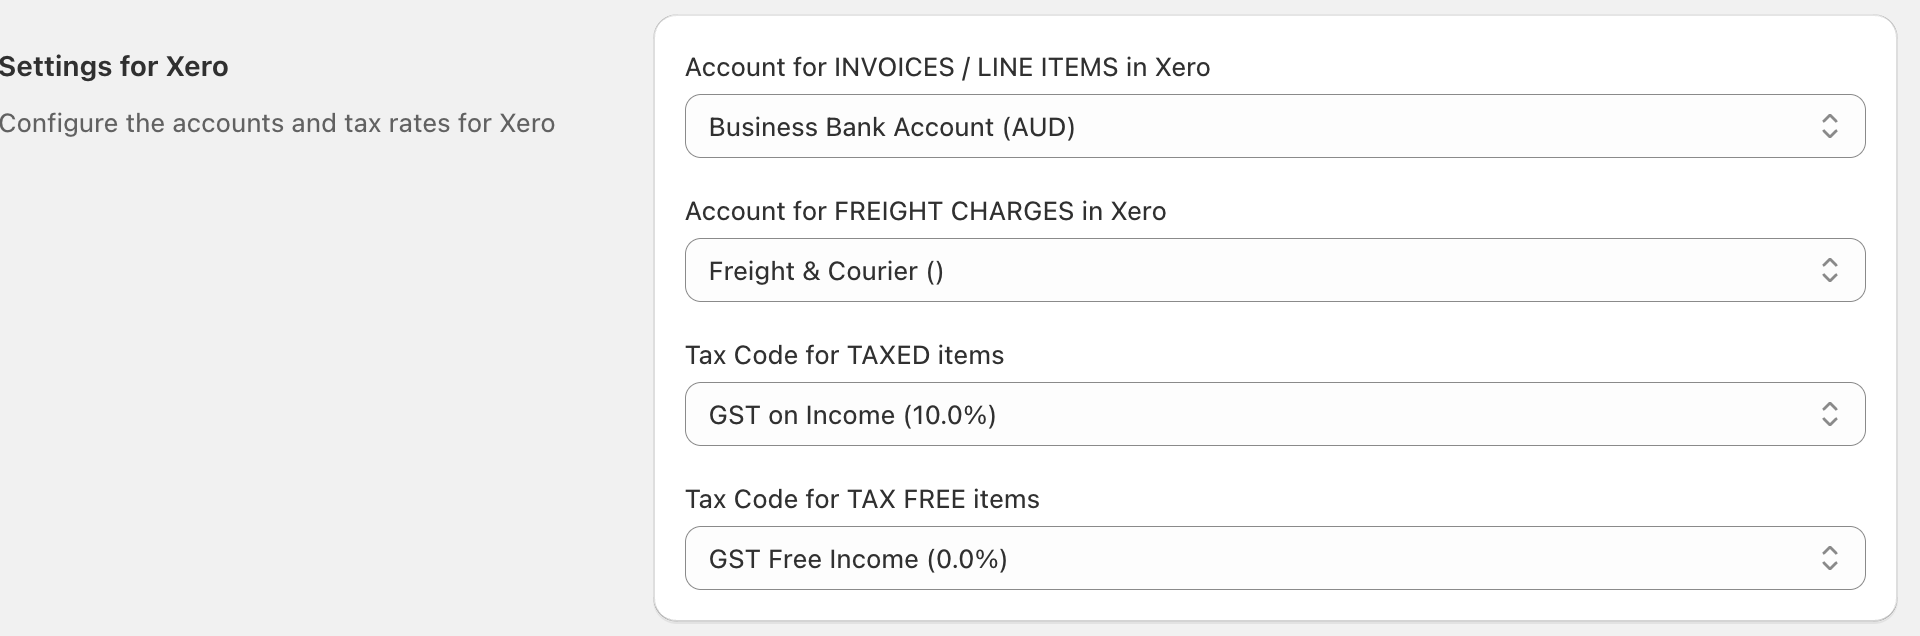
On the "Settings" page, you need to configure the account in Xero that should be used for invoices and payments.
The first two dropdown are to select the sales account and the freight account. The accounts listed in the dropdown are pulled from Xero and represent what is currently configured in your Xero account.
The next two dropdowns are to select the tax accounts, for taxable and tax free items. Once again, the tax types listed are pulled from your Xero account.
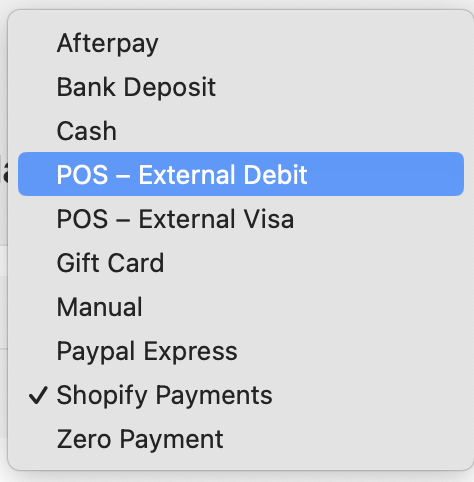
Below account and tax settings, you'll find the section to configure how Shopify payment methods are mapped in Xero.
For each payment method, select the corresponding Xero bank account where the payments should be recorded, the account fees should be recorded, as well as further settings to make sure payments are properly categorized and reconciled:

Depending on your store and offerings, you may need to map a few payment methods. If you accept payment methods that are not supported by x.ink, please send us a message so we can add them.
Some helpful tips:
Once all settings are configured, you cango to the top of the "Settings" page and enable Auto Sync.
From then on, all orders and transactions that occur in Shopify will be automatically synced to Xero, according to the settings and mappings you have configured.

Get in touch if you want to learn more!
Contact Us